I created this entry into my Blog mostly to show new people that miniature war gaming does not have to be intimidating nor expensive to get into.
I saw these on sale over Easter at $12.95 a box on Wargames Factory's website. That's 31 miniatures for $13, quite a steal.
I was not planning on a new army, but my buddy was interested in playing and could not "afford" to play the game. I picked up two of these boxes to form the core of the forces.
I went to work on Armybuilder (http://www.wolflair.com) and plugged in what I thought I could use out of these two boxes. I used the Stalingrad Theater Selector and came out with this list:
Battle of Stalingrad August - November 1942 List
Reinforced Platoon, 371 pts
Senior Lieutenant (SMG; Great Patriotic War)
Soldier (SMG x1; Great Patriotic War)
11 Light Machine Gun Squad (LMG x1; Rifle x10; Great Patriotic War; Team)
1 NCO (SMG)
11 Light Machine Gun Squad (LMG x1; Rifle x10; Great Patriotic War; Team)
1 NCO (SMG)
7 Assault Engineer Squad, 179 pts (Flamethrower x1; SMG x4; Rifle x2; Body Armour; Flamethrower; Great Patriotic War; Team)
1 NCO (SMG; Body Armour)
6 Scout Squad, 119 pts (SMG x6; Behind Enemy Lines; Great Patriotic War; Scouts)
1 NCO (SMG)
11 Free Rifle Squad, 0 pts (Rifle x11; Molotov Cocktails; Great Patriotic War; Green; Tank Hunter)
1 NCO (Rifle; Molotov Cocktails; Tank Hunter)
Sniper Team, 65 pts (Sniper Rifle; Great Patriotic War; Sniper; Team)
Sniper Team, 65 pts (Sniper Rifle; Great Patriotic War; Sniper; Team)
Anti-Tank Rifle Team, 39 pts (Anti-Tank Rifle; Great Patriotic War; Team)
Anti-Tank Rifle Team, 39 pts (Anti-Tank Rifle; Great Patriotic War; Team)
Anti-Tank Rifle Team, 39 pts (Anti-Tank Rifle; Great Patriotic War; Team)
Anti-Tank Rifle Team, 39 pts (Anti-Tank Rifle; Great Patriotic War; Team)
Commissar, 15 pts (Pistol; Great Patriotic War; Not One Step Back)
Medic Team, 30 pts (Pistol; Great Patriotic War; Medic)
Total List Cost: 1000
------------------------------------------------------------------------------------------------------------
This used all the models in the boxes save for two, but I needed to get 4 AT Rifle Teams. I looked at my old standby, www.blacktreedesign.com and picked up a pair of 2 AT Rifle Teams for $6.29 (35% off at the time) for $12.58
So there, I got my entire list bought for a tad under $39. What a deal.
So after about 5 days, the army arrived at my house.
I got busy assembling the various infantry squads and teams.
I used some green stuff (you can use automotive putty which is way cheaper and you get a ton more) and even sculpted some body armor on the engineer models and I created a custom flamethrower out of a rifle and a pieces of the sprue. The wire was from a CAT5 cable that was scrap left over at work.
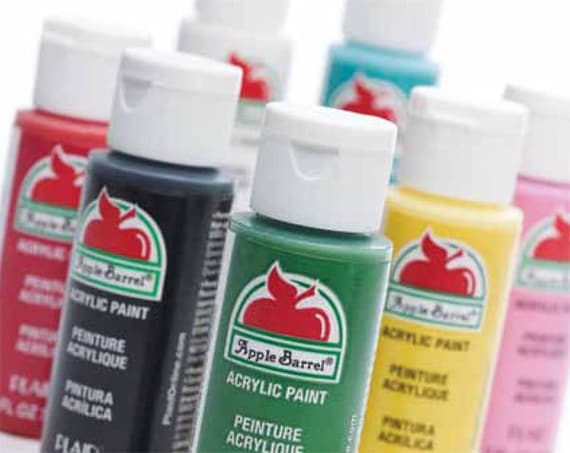
I had a plan at this point to go extremely thifty on this project and bought nothing except Wal-Mart Brand Apple Barrel Acrylic paints and Wal-Mart Daler - Rowney paintbrushes to paint them with.
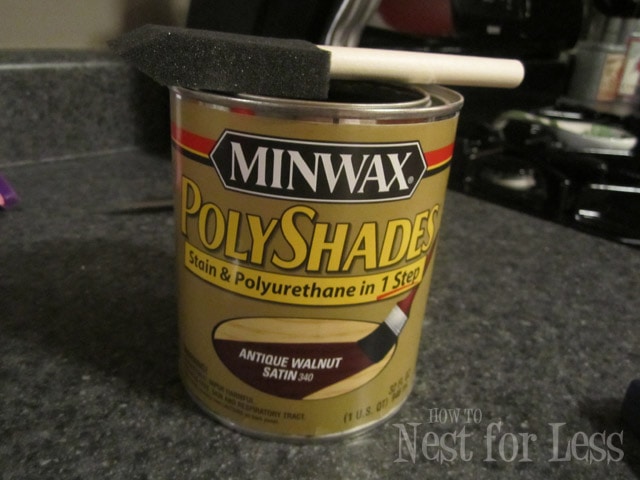
I also picked up a can of Minwax Polyshades Antique Walnut Wood stain to "Dip" the miniatures in when I was done.
Now when using Minwax Antique Walnut, you need to use a shade lighter paint color as it will tend to darken the colors you use for your miniatures. I chose a light green color called Lime Tree to paint the basic uniform colors for the Soviets. I have painted another set of soviets for a friend using a khaki base, but there are a range of colors for the soviet uniforms, so I went with a green tone on this army.
Here you can see me starting to apply the base color of the uniform to the models.
I have completed base coating all the models in the army with the color, I have started to focus on the veteran scout squad and apply the jigsaw camo on them.
Here are the same guys 1 color applied to each section. Basically ready to go into the Minwax.
To be continued!!!!!!